61 Locations Nationwide (800) 838-7995
We're here to help. (800) 838-7995
Schedule a Free Consult
Schedule Your
Free Design Consultation
Free Design Consultation
Many of the units we design and build have areas that require some decorating and placement of accessories to polish off the look. This is also true of furniture you purchase. One of the most popular areas we do built-ins for is entertainment centers and they frequently have a number of open areas that need styling to enhance it.
These areas require a touch of skill when decorating them. Placing personal items on these areas provides a warm feel and looks great. Everything down to the stain and accessories is chosen by you. To further the custom look, we came up with the idea of do-it-yourself decorative framed photos, using frames that are stained to enhance your unit. You can make theses stained frames blend with pretty much any style such as rustic, traditional, and even contemporary.
By matching (or closely matching) or perhaps selecting contrasting tones for the wood stains, your framed photos blend naturally or even stand out from the entertainment center or unit so that they become an attractive focal point. Like art in a gallery, these items just seem to belong in a decorative display within the unit or section and create a space the invites the eye to roam.
Sound brilliant? All you need are some wood frames, stain in tones you like, finish coating, and a few supplies to make this easy decorative element.
You can purchase unfinished wood frames or use frames you already have and strip off the old finish.
Remove the frame hardware and glass. Set aside in a safe location. Sand the frame with medium or fine-grit sandpaper. Sand until the frame surface is smooth and even.
Use tack cloth to remove the dust. Clean the wood with mineral spirits to bring out the natural color variation of the wood.
Apply a wood conditioner to help the wood absorb the stain.
Select a stain that most closely matches the finish of your entertainment center. It doesn’t have to be a perfect match. Remember stains become darker the longer you let them set. There are three main types of stain:
• Water-based—Nontoxic and easy to clean, but has a tendency to streak
• Oil-based—Available in liquid or gel form, user friendly, but produces more fumes than water-based and is hard to clean up
• Hybrid—Hybrid stains offer benefits of both latex and oil-based, but they often cover the grain of the wood more than desired.
Using a rag, soft sponge or brush, apply the stain. Work with, not against the grain of the wood in smooth, even strokes. Let the stain sit for 5-15 minutes. The longer the stain sets the darker it will be.
Once the stain reaches the desired color, wipe away the access and allow the stain to dry completely (4-6 hours).
If the required darkness isn’t achieved the first time, wait until the frame is completely dry then lightly sand the frame and apply a second coat of stain. Wipe away the excess and let dry for 8 hours.
After the stain is dry, apply a finish to protect the wood stain. Polyurethane is the most commonly used finish. Tung oil is also a popular choice.
Reapply the picture frame hardware and glass.
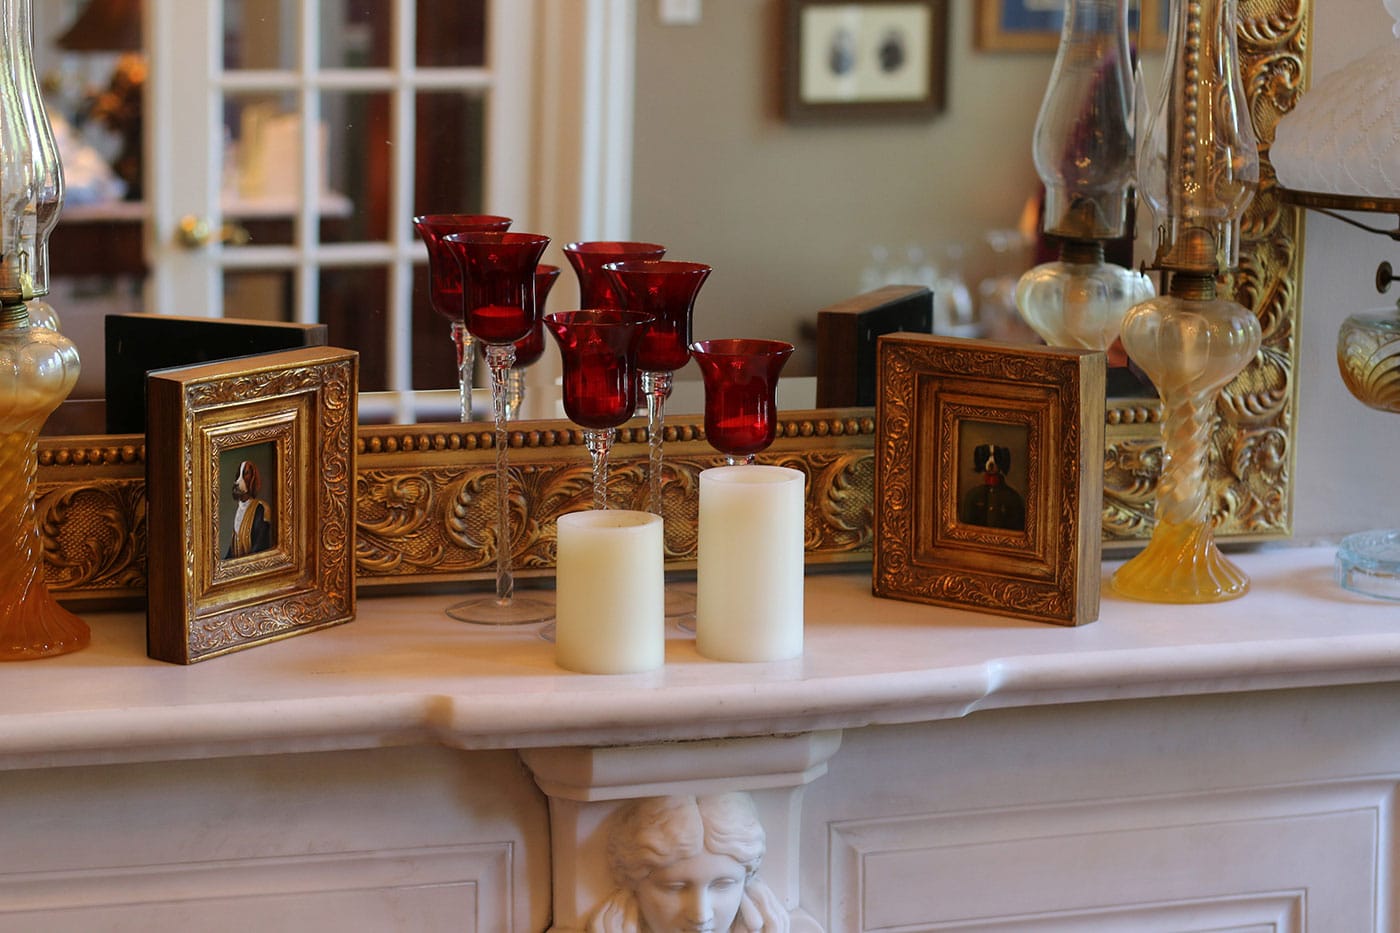
Select photos or art to go in your frame. Hang your custom stained frames or stand them directly on your entertainment center. In truth you can use these personal items to decorate any shelving, mantel, or counter top area.
Each of our custom closets is completely personalized and begins with a complimentary design appointment.
Schedule a ConsultDuring the consultation, you and the designer will discuss goals, wish list, and project budget, with the aim of designing a closet organization system that will: