Schedule a Free Consult
Schedule Your
Free Design Consultation
Free Design Consultation
Drawers are one of the biggest assets in maximizing storage. Unfortunately, a lot of us have a hard time finding what we need because our drawers are a mess. The best way to achieve organization for a drawer is with drawer organizers. While you can buy drawer organizers, constructing a DIY drawer organizer for your craft room is easy.
With your tape measurer, measure the length, width, and height of the drawer. Make sure you are as precise as possible. If you are having a tough time getting the measurements, pull the entire drawer out.
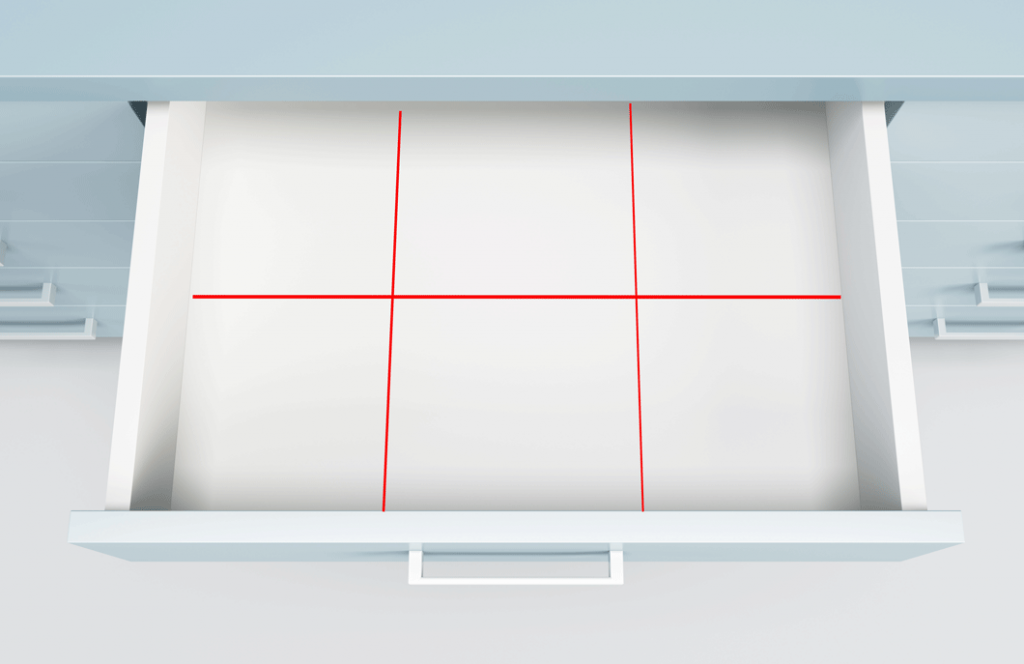
The best way to figure out how many sections you need is to put the items in the drawer the way you want them to be organized. Once you have everything laid out, you should be able to get an idea of how many dividers you need to cut. For this tutorial, we will be making an organizer that is 3×2 (6 sections).
Using the dimensions you measured of the drawer, measure out and mark the cardboard where you will be cutting. For us, we will have three dividers in total (two for the length and one for the width). This will vary depending on how many sections you want. The dividers need to fit into the drawer snuggly so they can remain in the drawer without falling over. Your straight edge will come in handy for precise cuts. For the height of the dividers, make them slightly shorter than the height of the drawer. You don’t want the dividers to interfere with opening and closing the drawer.
Basically, you are making a slit so you can intersect the dividers by sliding them together. For our 3×2 organizer, we will make two incisions for the one divider spanning the width and one incision for each of the dividers spanning the length. The cuts will be from the top and not from the sides.
For the two dividers spanning the length, draw a dot at the center of each divider and cut to the center and stop at that dot. For the one divider spanning the width, do the same thing but draw your dots at the 1/3 point on the left side and 1/3 point on the right side.
Once all of the incisions have been made, you are ready to decorate if you choose to. Start by cutting your decorative paper about 1″ wider and 1″ taller than the cardboard divider. Notch out the corners with your knife and fold the ends over to the other side of the divider. Then, cut the paper for the other side that is ½” smaller than the divider. Everything should be nice and flush.
If you are happy with how each divider looks, go ahead and connect them by sliding the flaps into each other. Once assembled, place it into the drawer. If you measured everything right, the organizer should fit in the drawer without needing any support.

If everything looks good to you, you’re done! Put everything in and enjoy your new organized drawer. As you can see, this DIY drawer organizer isn’t too difficult and can be applied to as many drawers as you wish.
If you want to see our other craft room organization projects, head here. For more home organization inspiration, be sure to visit our blog and check us out on Facebook, Instagram, Twitter, and YouTube.